Technology is improving at a rapid rate, and as goods become more advanced, the parts that make up the total become more complex as well. This complexity leads to tighter tolerances when performing quality assurance.
A small run of parts can be checked on a traditional CMM. This process is very thorough and yields a large amount of useful data that can be tracked and correlated. A drawback to this method is that parts must be taken from the shop floor into a CMM lab for testing, which is very time consuming. Additionally, using a CMM for high volume inspection often leads to bottlenecking caused by a lack of CMM operators or lack of time to complete a full inspection of a large volume of parts.
For large volume runs of parts, the current most widely used solution is GO/NO-GO gages. While parts can be checked quickly this way, very little data is collected and the accuracy of a fixture can be called into question often when used heavily. Additionally, these gages are expensive, bulky (storage issues), and often heavy, leading to safety concerns. Finally the cost for annual recertification of all current gages can quickly grow exorbitant.
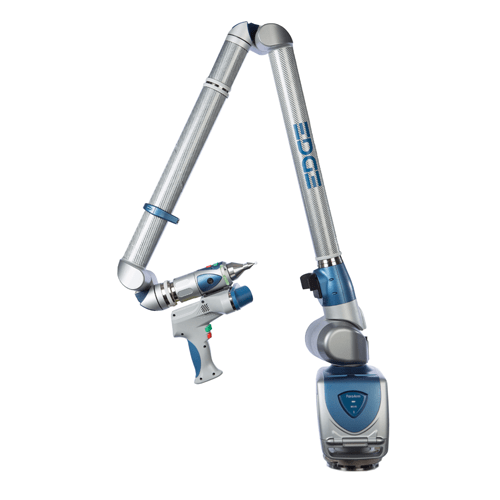
A relatively new solution that aims to combine the ease of use of a gage with the accuracy and data collection of a traditional CMM is the implementation of a portable CMM.
A portable CMM can be set up at a small station near where parts are manufactured. When a part needs to be checked, an operator loads a pre-written program and quickly touches off key points or scans in a part using a laser scanner attachment. The operator then receives instant feedback about whether the part has been made correctly or not.
Additionally, each check is saved for later use. After a specific number of runs or time, a supervisor can easily run a trend analysis of all parts measured to track how the parts are being made. This report can be used to identify feature drift, wear patterns on a die, or to aide in preventative maintenance.
One portable CMM can replace a virtually unlimited number of gages, given that a trained operator creates the programs beforehand, which drastically reduces storage space issues. Portable CMMs are also light and easily transported by an able bodied worker when necessary. To solve bottlenecking issues, multiple portable CMMs can be run by many operators with minimal training in how to use pre-written programs. Finally, startup and maintenance costs are drastically reduced since a company would only need to purchase or re-certify their portable CMMs instead of a large number of individual gages.
